

Enriching your data and using it
In order to improve a model you need to train it on the most relevant data points - the ones that represent use cases in which the model is underperforming. Focusing on these relevant use cases is a hard task, especially when dealing with large datasets. This is why Data Engine provides the ability to intuitively query and create new subsets of your data, so you will be able to zoom in on these use cases and improve your model effectively.
To query and generate training-ready data sets from your connected data source, you will first need to enrich it by adding custom metadata that's relevant to your use case. Data Engine enrichments can include metadata, annotations, and model predictions. There are 4 ways to upload enrichments using the DagsHub Client:
- The Pandas Dataframe interface
- The metadata context interface
- Dictionary assignments on datapoints
- Import metadata from CSV, TSV, or Parquet in the UI
1. Enriching with Pandas Dataframe interface
This is the recommended approach when you have metadata in a CSV or Parquet file. Load the file into a pandas DataFrame and upload it in one call.
Loading metadata from a file
import pandas as pd

# Load from CSV
df = pd.read_csv("metadata.csv")
# Or load from Parquet (requires pyarrow or fastparquet) or any other format supported by pandas
# df = pd.read_parquet("metadata.parquet")
Uploading the DataFrame
To enrich datasource with an existing data frame, use the following command:
ds.upload_metadata_from_dataframe(df, path_column="path")
The path_column argument tells DagsHub which column identifies each datapoint. It can be thought of as the "primary key" or "ID" column of your data. You can pass:
- A column name (string): e.g.,
path_column="path"orpath_column="file_path" - A column index (integer): e.g.,
path_column=0for the first column,path_column=2for the third
If not specified, the first column is used by default. All other columns become metadata fields.
What if my data table is not referencing any files? It's just a table of data!
The path_column doesn't have to point to actual files — it just needs to uniquely identify each row.
If you're working with purely tabular data, see Working with tabular-only data below.
For example:
import pandas as pd

# Create a pandas dataframe
columns = ["path", "squirrel_detected"]
data = [["data/dataPoint1.png", True],
        ["data/dataPoint2.png", False]]

df = pd.DataFrame(data, columns=columns)

# Enriching data with the data frame
ds.upload_metadata_from_dataframe(df, path_column="path")
Working with tabular-only data (no backing files)
If your data is purely tabular and there are no actual files behind each row (e.g., sensor readings, experiment logs, or any structured dataset), you can still use the Data Engine:
- Create a datasource from a path with no files (
fake_pathbelow can be any path you like) - Choose any column that serves as a unique row ID (e.g.,
"id","sample_id","experiment_name") and pass it aspath_column. - The UI may show "missing file" warnings for each datapoint — this is expected and can be safely ignored.
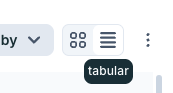
- Use the Tabular View in the DagsHub UI to browse and query your data like a normal table.
import pandas as pd
from dagshub.data_engine import datasources

# Create a datasource from an empty path
ds = datasources.create_ datasources.create_datasource('<user>/<repo>', name="<dataset_name>", path='fake_path')

# Load tabular data without backing files
df = pd.read_csv("experiment_results.csv")
# Columns: id, accuracy, loss, hyperparams, ...

# If your data doesn't have an id column, you can create one from the index:
#df['id'] = df.index.astype(str),

# Use the ID column as the path_column
ds.upload_metadata_from_dataframe(df, path_column="id")
We're actively improving this experience to make tabular data a first-class citizen in the Data Engine.
2. Enriching with metadata context interface
To Enrich your data source with the metadata context interface, you can use the metadata_context with the following
commands:
with ds.metadata_context() as ctx:
    metadata = {
        "key_1": value_1,
        "key_2": value_2,
    }

    # To add enrichments to a single data point within the data source:
    ctx.update_metadata("path/to/datapoint.png", metadata)

    # To add enrichments to several data points within the data source:
    ctx.update_metadata(["path/to/datapoint1.png", "path/to/datapoint2.png"], metadata)
Where path/to/datapoint*.png is the path relative to the root of the datasource.
For example, for our baby Yoda segmentation repo:
with ds.metadata_context() as metadata_context:
    metadata = {
        "episode": 5,
        "has_baby_yoda": True,
    }

    # Enriching one data point
    metadata_context.update_metadata("images/005.jpg", metadata)

    # Enriching several data points
    metadata_context.update_metadata(["images/006.jpg", "images/007.jpg"], metadata)
In our baby Yoda segmentation repository - where the data is located at repo://simon/baby-yoda-segmentor/data - the
data point path will be images/005.jpg
3. Enriching with with dictionary-like assignment
datapoints = ds.all()
datapoints["images/005.jpg"]["episode"] = 5
datapoints["images/005.jpg"].save()
save() should be called for each datapoint eventually for changes to be commited.
when looping over many datapoints the preferred method (to avoid many network writes) is to work within a metadata context block, but dictionary syntax can still be used:
with ds.metadata_context() as ctx:
    for dp in datapoints:
        dp["episode"] = 4
save() is omitted as a commit is done once the context is exited.
Supported metadata types:
- Int
- Float
- Boolean
- String
- Blobs (
bytes):with ds.metadata_context() as ctx: with open("file1_depth.png", "rb") as f: ctx.update_metadata("file1", {"depth_image": f.read()}) - Datetimes (we're also saving the timezone. If it's not provided, then we assume UTC):
import datetime
# +3 Hours UTC Offset
tz = datetime.timezone(datetime.timedelta(hours=3))
# 10th February 2024, 14:00 + 03:00
dt = datetime.datetime(2024, 2, 10, 14, 0, 0, tzinfo=tz)

with ds.metadata_context() as ctx:
    ctx.update_metadata("file1", {"photo_taken_at": dt})
4. Import metadata from CSV, TSV, or Parquet in the UI
Using DagsHub's UI, you can easily add metadata to your data points. Follow these steps to upload metadata:
In the data source page, look for the vertical three dots icon on the right side of the top navigation bar (see image below):
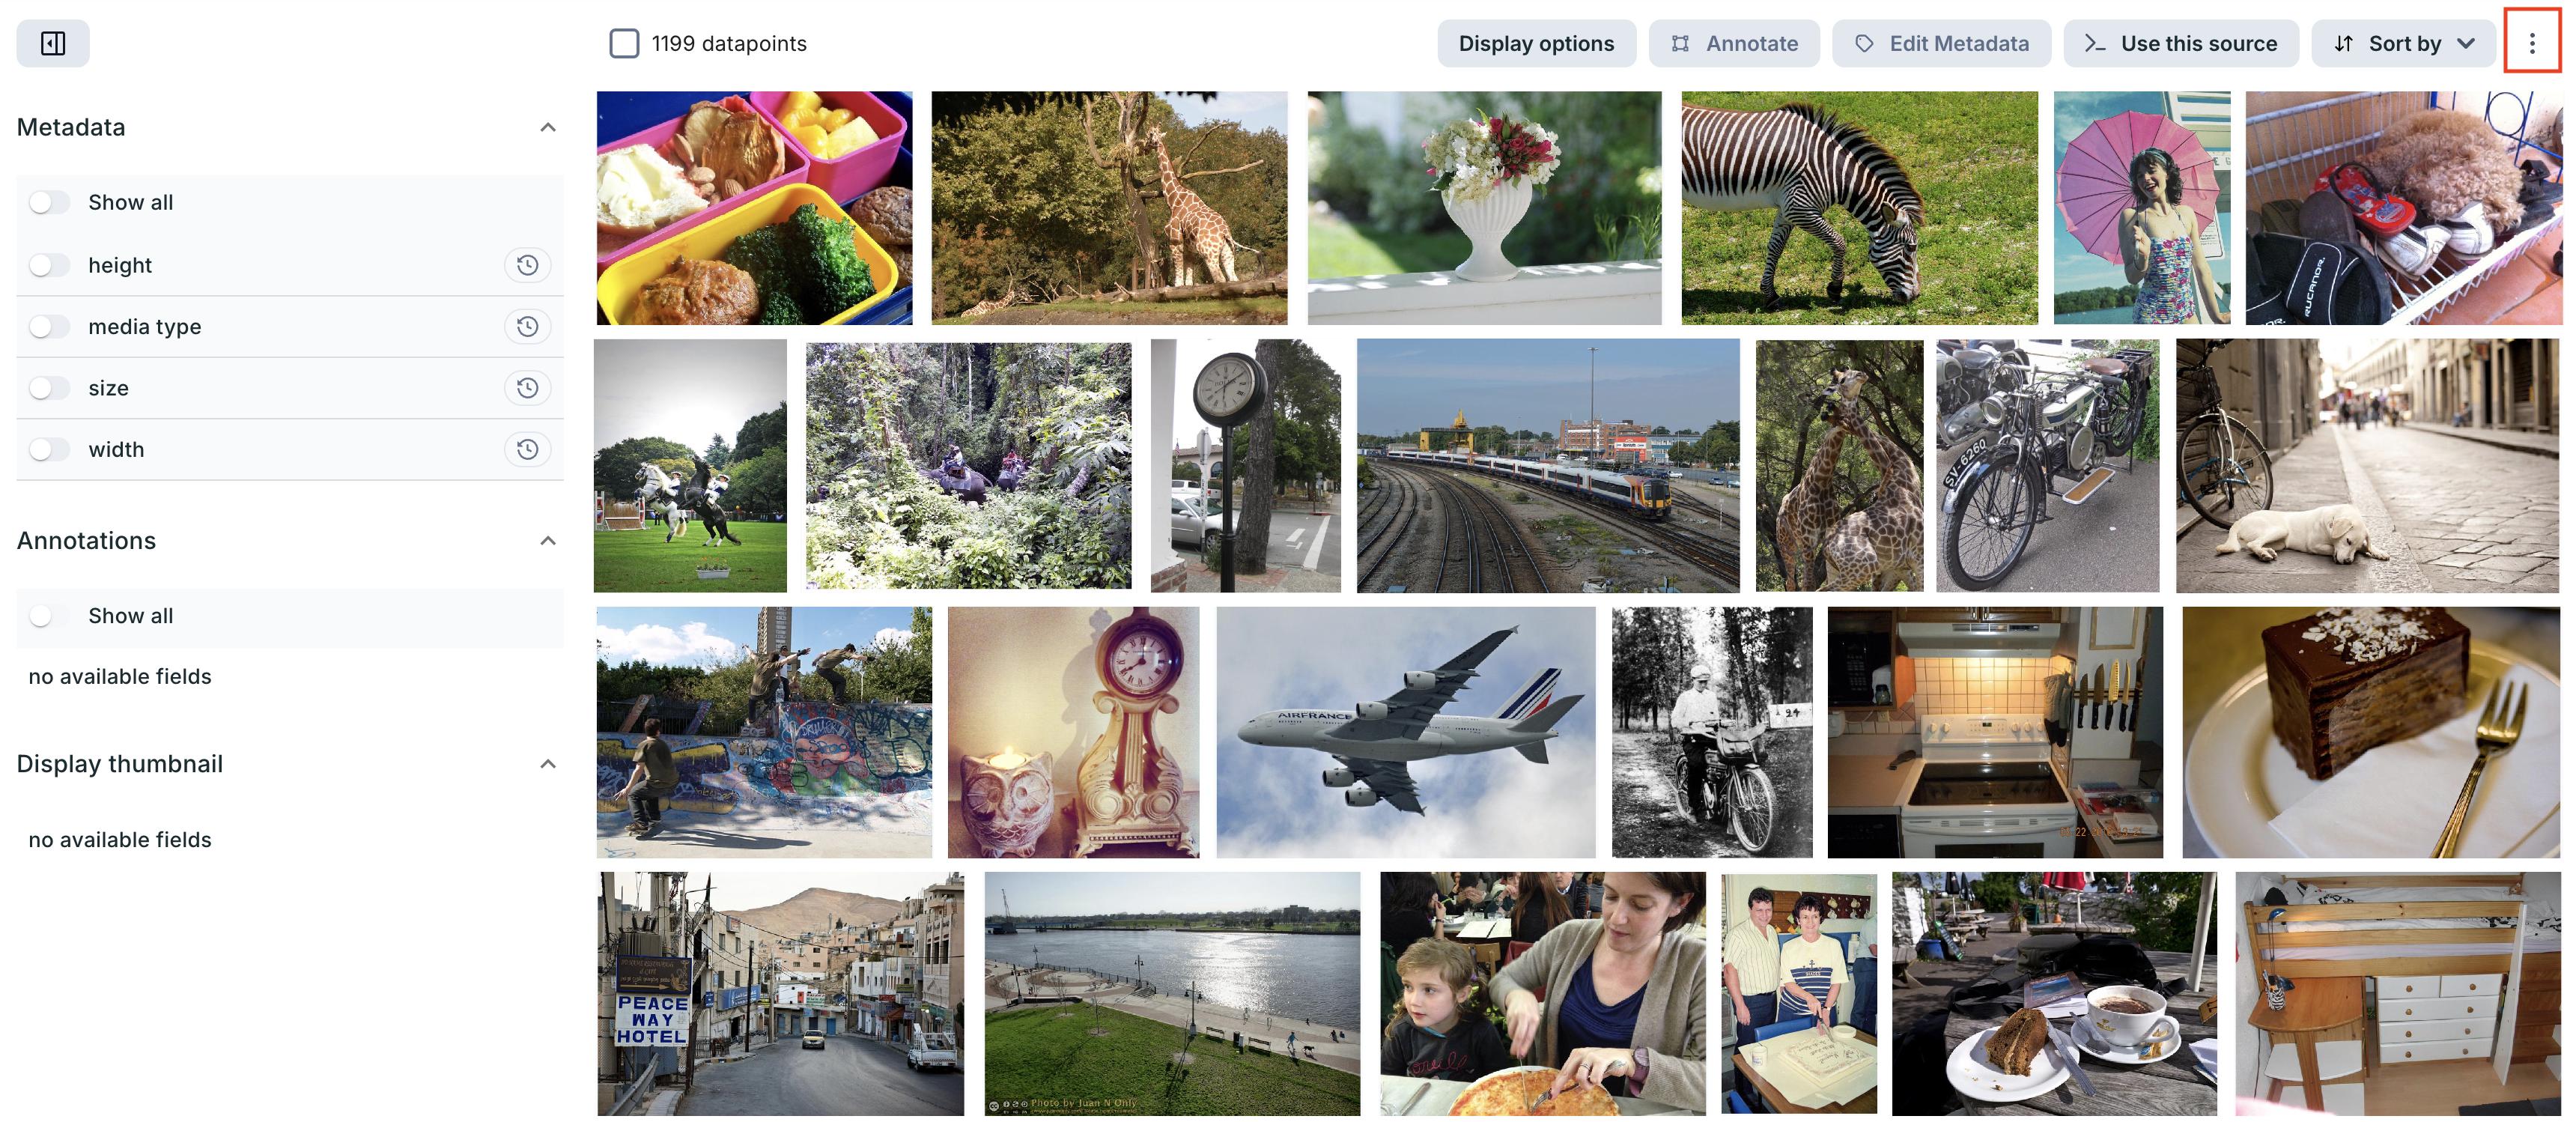
Click the three dots, and a pop-up menu will appear. Select the option to upload a file containing your metadata:

Choose a file to upload. The file should be a CSV in the following format:
path,metadata1,metadata2
path/to/datapoint1.png,value1,value2
Here, path points to each data point, and additional columns represent metadata values.
Working with tabular-only data
If your data has no backing files (e.g., purely tabular data), use any unique ID column as the path column.
The UI may show "missing file" warnings — this is expected. Use the Tabular View to browse your data.
Note: We also support parquet files and CSV files compressed in a zip archive.
Once your file is selected, click the "Upload" button. You will get notified when the metadata is uploaded successfully.
Deleting datapoints and metadata
To delete a datapoint from a datasource, simply run:
datapoints["images/005.jpg"].delete()
datapoints = ds.all()
ds.delete_datapoints(datapoints)
Note
- Deleted datapoints will no longer show up in queries.
- Does not delete the datapoint's file, only removing the data from the datasource.
- You can still query deleted datapoints and associated metadata with versioned queries whose time is before deletion time.
- You can re-add deleted datapoints to the datasource.
- Datasource scanning will not add this datapoint back.
Delete one or more metadata fields from a datapoint:
datapoints["images/005.jpg"].delete_metadata("episode")
# or
datapoints["images/005.jpg"].delete_metadata(["episode", "annotation"])
datapoints = ds.all()
ds.delete_metadata_from_datapoints(datapoints, ["episode", "annotation"])
Note
Deleted values can be accessed using versioned query with time set before the deletion.
Viewing and using datasource content
The easiest way to display your datapoints is ds.head().dataframe or ds.all().dataframe, though you can leave out
the .dataframe to get the actual QueryResult object.
You can fetch the data points (set of filenames + their enrichments) that exist in a data source. To display data points within a datasource, use the following commands:
# Fetch the first 100 data points
ds.head()

# Fetch the first 42 data points
ds.head(42)

# Fetch all data points
ds.all()
The returned object will include the fetched datapoints and their metadata.
If you want to do sophisticated computations, aggregations, etc. on the fetched metadata, you can easily do that by transforming the fetched datapoints to a Pandas DataFrame. Each row will represent a datapoint, with one column specifying its file path and the other columns showing its metadata values.
df = ds.head().dataframe
Downloading datapoint files
To download the raw data files referenced in the path field of the fetched query results, use the download_files
function:
ds.all().download_files(target_directory="path/to/directory")
If target_directory is not specified, data points will be downloaded to
the ~/dagshub/datasets/<user>/<repo>/<datasource_id> directory.
If you have another column that includes valid paths inside your repository, for example if you have images that you use as labels, and are also stored in your project, you can download them using:
ds.all().download_files(target_directory="path/to/directory", path_field="label_path")
Where path_field is the name of the column that has the paths you'd like to download.
Download files directly from your storage bucket
If your data source is a cloud object storage bucket, which you connected to DagsHub, then you can download raw data files directly from your bucket. This can lead to massive savings of time and data transfer costs, so we recommend doing that. Use the following example to enable bucket downloaders:
from dagshub.common.download import enable_s3_bucket_downloader, enable_gcs_bucket_downloader

# S3
enable_s3_bucket_downloader()
# GCS
enable_gcs_bucket_downloader()

# You can also use a custom client, if the default auth is not set up
import boto3

client = boto3.client("s3", endpoint_url=...)
enable_s3_bucket_downloader(client)
For this to work, you need to be authenticated with your cloud provider and have proper permissions. Usually, that means
downloading the appropriate cloud vendor SDK (aws or gcloud). If you don't use bucket downloaders, everything will
still work - you will download the raw files from dagshub.com using your DagsHub credentials.
Downloading Blob fields
Blob fields are not downloaded by default, to download the data, use the following function:
df = ds.all().get_blob_fields("binary_1", "binary_2", load_into_memory = True)
Working with Annotation Columns
Data Engine treats certain data types, like annotations uniquely, enabling you to send them to be annotated, or visualize them.
If you created the annotation with DagsHub Annotations, then this will be automatically taken care of.
However, if you import annotations from a different place, and convert them into the correct label studio format, you'll need to mark them as metadata type annotation. To do this simply run:
from dagshub.data_engine import datasources
ds = datasources.get('<user_name>/<repo_name>', '<datasource_name>')

ds.metadata_field("<your annotation column name>").set_annotation().apply()
Then you'll be able to see and use the annotations as necessary.