

Level 1 - Setup
Level overview
This level of the tutorial covers setting up our project.
This includes the following tasks:
- Creating an account and repo in DagsHub.
- Cloning it to your local machine.
- Creating a virtual python environment
using
venvand installing the needed requirements.
If you are familiar with these steps, you can skip to the next level, where we train some models and set up data and model versioning.
Joining DagsHub...
...is really easy. Just sign up.
Then, after logging in, create a new repo, simply by clicking on the plus sign and create a repository in the
navbar.
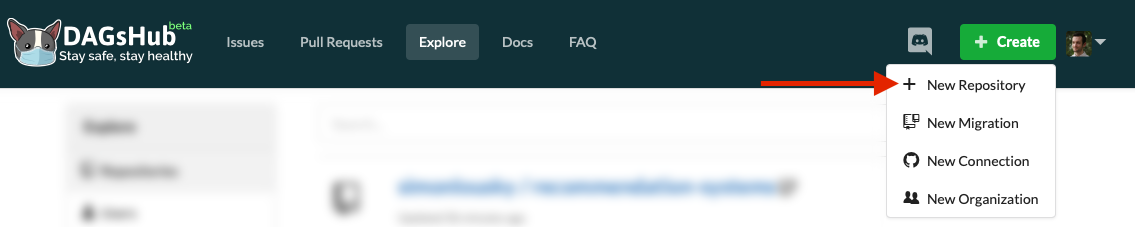 Repo creation button
This opens up a dialog, which should be somewhat familiar, in which you can set the repository name, description, and a few other options.
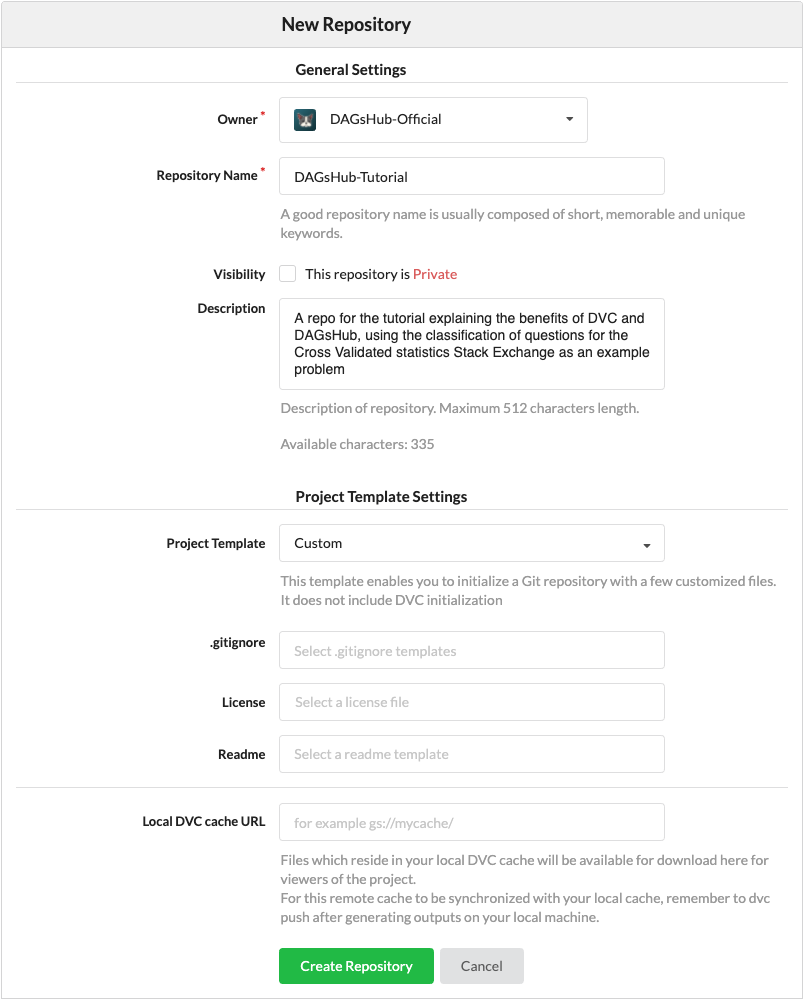
Repo creation dialog
For this tutorial, fill in the name and description, and leave everything else in the default settings.
Done with repo creation. On to project initialization.
Setting up our project
Create a directory named dagshub_tutorial for the project somewhere on your computer.
Open a terminal and input the following:
cd path/to/folder/dagshub_tutorial
git init
Now, we will set the remote to our repo on DagsHub. This can be done using the following command:
git remote add origin https://dagshub.com/<username>/<repo-name>.git
Finally, let's create 2 folders, for each of our main project components.
mkdir -p data outputs
Creating a virtual python environment
We assume you have a working Python 3 installation on your local system for the following explanations.
Warning
To ensure that you do, you can open a terminal and type in python3 -V.
See that this command succeeds and that you get at least version 3.7 - if it's smaller or if the command fails,
you should download the correct version for your operating system.
To create and activate our virtual python environment
using venv,
type the following commands into your terminal (still in the project folder):
python3 -m venv .venv
echo .venv/ >> .gitignore
echo __pycache__/ >> .gitignore

source .venv/bin/activate
python3 -m venv .venv
echo .venv/ >> .gitignore
echo __pycache__/ >> .gitignore

.venv\Scripts\activate.bat
The first command creates your virtual environment - a directory named .venv, located inside your project directory,
where all the Python packages used by your project will be installed without affecting the rest of your computer.
The second and third commands make sure the virtual environment packages and pycache are not tracked by Git.
The fourth command activates our virtual python environment, which ensures that any python packages we use don't contaminate our global python installation.
The rest of this tutorial should be executed in the same shell session.
If you exit the shell session or want to create another, make sure to activate the virtual environment in that shell session first.
Installing requirements
To install the requirements for the first part of this project, simply download this requirements.txt into your project folder.
These are the direct dependencies:
dagshub==0.3.8.post2
dvc==3.49.0
dvc-s3==3.1.0
joblib==1.3.2
mlflow==2.8.0
pandas==2.1.2
scikit-learn==1.3.2
Now, to install them type:
pip3 install -r requirements.txt
Downloading the data
We'll keep our data in a folder named, oddly enough, data.
It's also important to remember to add this folder to .gitignore!
We definitely don't want to accidentally commit large data files to Git.
The following commands should take care of everything:
mkdir -p data
echo /data/ >> .gitignore
wget https://dagshub-public.s3.us-east-2.amazonaws.com/tutorials/stackexchange/CrossValidated-Questions-Nov-2020.csv -O data/CrossValidated-Questions.csv
Committing progress to Git
Let's check the Git status of our project:
$ git status -s
?? .gitignore
?? requirements.txt
Now let's commit this to Git and push to DagsHub using the command line:
git add .
git commit -m "Initialized project"
git push -u origin master
You can now see the setup files on your DagsHub repo. So far so good.
Next Steps
In the next level, we'll prepare our data processing code and use DVC to keep track of our data and model versions.