

Setup
Section overview
The first section of this tutorial covers setting up our project. This includes the following tasks:
- Creating an account and repo in DagsHub
- Installing DVC as well as the optional installation needed to use remote caches for a project (we assume you have Git installed and are familiar with it to some extent).
- Project initialization in Git and DVC
- Creating a virtualenv and installing the needed requirements for the first part of the project
If you are familiar with these steps, you can skip to the next part which covers pipeline creation.
Joining DagsHub...
...is really easy. Just sign up.
Then, after logging in, create a new repo, simply by clicking on the plus sign and create repository in the
nav bar.
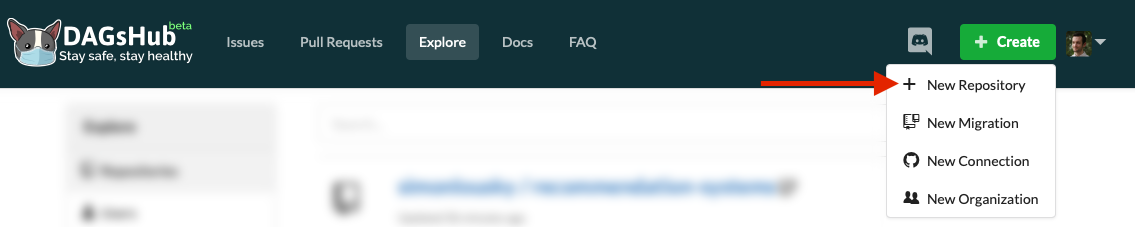 Repo creation button
This opens up a dialog, which should be somewhat familiar, in which you can set the repository name, description and other options.
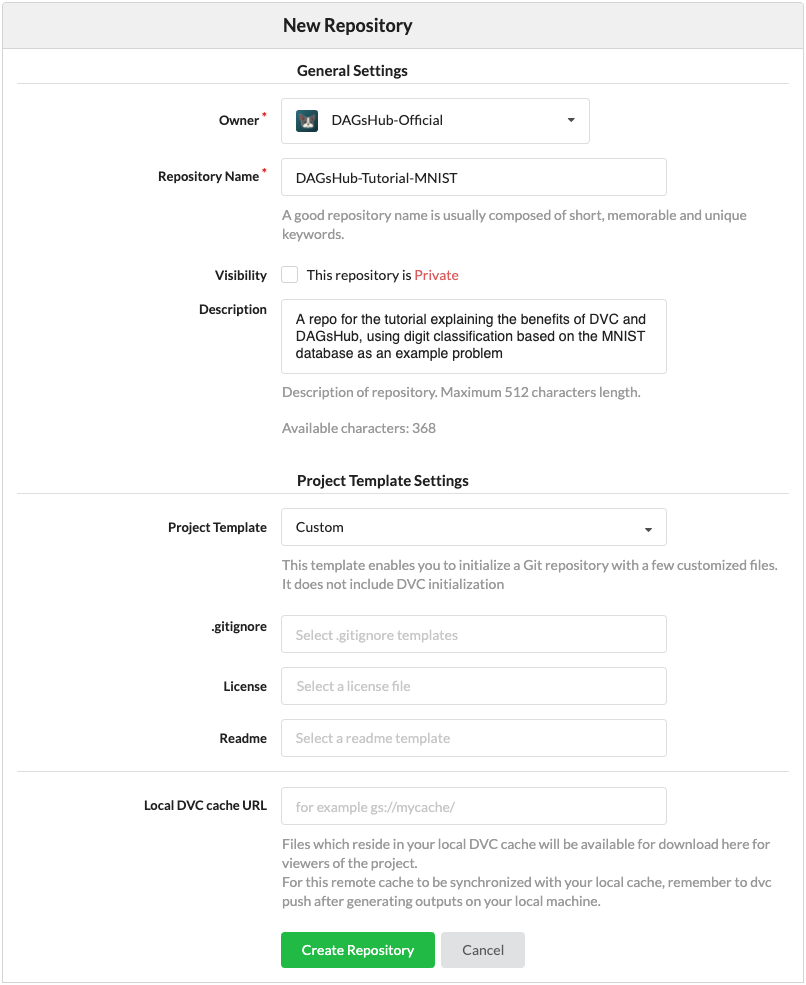 Repo creation dialog
For this tutorial, fill in the Name and description, and leave everything else with the default settings.
Info
Note the Local DVC cache URL setting, which is unique to DagsHub. We will get back to it later in the tutorial.
Done with repo creation. On to project initialization.
Installing DVC
We need to make sure we have Git and DVC installed on our computer.
We won't cover Git installation here, but if you need it, here is a link to an installation guide.
This tutorial assumes a Python 3 installation.
Make sure you aren't using Python 2 by mistake, using python --version.
For full documentation and all options for installation of DVC, see the official docs.
DVC is actually a python module. You can run it from your OS environment or from your currently activated python environment. As such, the fastest way to install DVC is using pip. Just open a terminal and type:
pip3 install dvc
Warning
This tutorial was last updated to DVC version 2.13.0 . If you are using an older version, please update. If you are using a newer version, be aware that the behavior of some commands may change.
Setting up our project
Create a directory name "dagshub_mnist" for the project somewhere on your computer. Open a terminal and input the following:
cd path/to/folder/dagshub_mnist

git init
dvc init
The last command initializes the project as a DVC project, which sets up the following directory structure:
.
├── .dvc
│   ├── .gitignore
│   ├── config
│   ├── plots
│   │   ├── confusion.json
│   │   ├── default.json
│   │   ├── scatter.json
│   │   └── smooth.json
│   └── tmp
│       └── index
└── .git
    ┊
This is somewhat similar to the .git folder contained in every git repo, except some of its contents will be tracked using git.
.dvc/configis similar to.git/config. By default it's empty. More on this later on..dvc/.gitignoremakes sure git ignores dvc internal files that shouldn't be tracked by git..dvc/plotscontains predefined templates for plots you can generate usingdvc- more info here..dvc/tmpis used by dvc to store temporary files, this shouldn't interest the average user..dvc/cachedoesn't exist yet, but it is where DVC will keep the different versions of our data files. It's very similar in principle to.git/objects.
Now, we will set the git remote to our repo on dagshub.com. This can be done using the following command:
git remote add origin https://dagshub.com/<username>/<repo-name>.git
Next, we will set the remote to our dvc remote. This will allow us to interact with DagsHub's DVC storage.
dvc remote add origin s3://dvc
dvc remote modify origin  endpointurl https://dagshub.com/<username>/<repo-name>.s3
dvc remote modify origin --local access_key_id <token>
dvc remote modify origin --local secret_access_key <token>
Finally, let's create 3 folders, for each of our main project components.
mkdir code data metrics
Creating a virtual environment and installing requirements
We strongly recommend using a virtual environment to run the code in this tutorial. You may use the environment manager
of your choosing. In this example we will use virtualenv.
In the project directory type the following commands:
virtualenv venv
echo -e 'venv/\n*.pyc' >> .gitignore
source venv/bin/activate
virtualenv venv
echo venv/ >> .gitignore
echo *.pyc >> .gitignore
venv\Scripts\activate.bat
The first command creates our virutal environment in the venv/ directory.
The second (and third, in case of Windows) command builds our gitignore. It ensures the virtual environment packages and python bytecode are not tracked by Git.
The final command activates our virtual python environment. This ensures that no python package we use contaminates
our global python installation.
The rest of this tutorial should be executed using this environment **
If you exit the shell session, or want to create another, make sure to activate the virtual environment in that shell session first**.
Installing requirements
To install the requirements for the first part of this project, simply download the requirements.txt into your project folder.
Tip
Alternatively, you can create a file called requirements.txt and copy the following into it:
torch==1.12.0
numpy==1.21.6
pandas==1.3.5
python-dateutil==2.8.2
pytz==2022.1
scikit-learn==1.0.2
scipy==1.7.3
six==1.16.0
sklearn==0.0
Now, to install them type:
pip3 install -r requirements.txt
Committing progress to Git
Let's check the Git status of our project:
$ git status -s
A  .dvc/.gitignore
A  .dvc/config
A  .dvcignore
?? .gitignore
Now let's commit this to Git using the command line:
git add .
git commit -m "Initialized project"
git push -u origin master
What changed?
Let's open up our repo on DagsHub. It should look something like this:
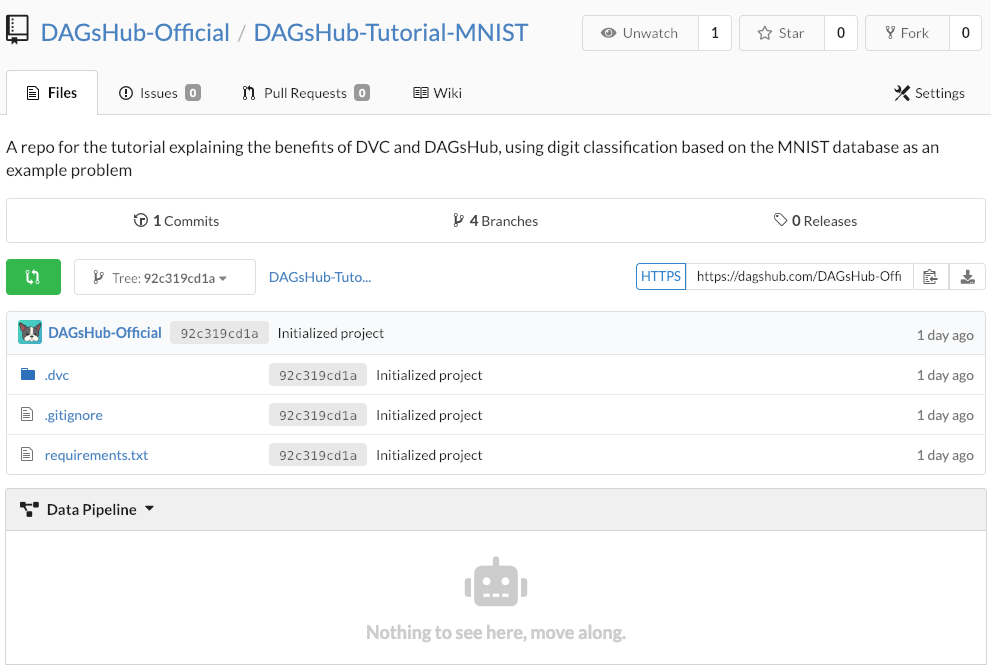 Repo view after first commit
The top part should look familiar to anyone that has used a Git server before. However, notice the bottom window. This is a new addition in DagsHub, and will, later on in this tutorial, show our data pipeline.
In the next section, we will use dvc to define our pipeline. That is where the magic happens.