DagsHub and Beam: Close The ML Project Lifecycle With Zero MLOps Required
- Kang-Chi Ho
- 8 min read
- 3 years ago
In recent years, machine learning has grown tremendously, with many individuals working on open-source projects and companies incorporating ML models and algorithms into their products and services. However, managing the Ops side of ML projects can be challenging due to the separation of tools, DevOps knowledge required which is out of the ML scope, time-consuming setups, and expensive local computing resources.
To help overcome these challenges, DagsHub offers a unified platform for managing all of your ML project components in one place while doing the MLOps setup for its users. Additionally, Beam offers a serverless solution for managing powerful computing resources, for training and inference of ML models.
This post provides a practical guide to how DagsHub and Beam help manage the entire ML project cycle. By following the steps outlined in the post, you can optimize your MLOps management and focus on building better models.
What is Beam?
Beam enables you to develop on serverless GPUs, deploy highly performant APIs, and rapidly prototype ML models — without managing any infrastructure. It provides easy-to-set-up serverless solutions which dramatically reduces the DevOps work.

How does Beam work?
Beam provides a remote container on customizable and powerful hardware, which automatically syncs your project folder with the remote machine. This allows you to develop locally and have your code executed on the remote container instead of your local machine.
To utilize Beam, you need to create a Python script and define an object using beam.App() API. This object will allow you to set up the necessary remote resources, such as CPU or GPU, and install any required packages or OS-level dependencies. You can name the Python script anything you prefer, such as app.py. Once you run this script, your local code will be synced with the remote machine, enabling you to execute your code on the remote container while developing locally.
DagsHub and Beam to Close the ML Training Lifecycle
DagsHub and Beam simplify the ML training lifecycle by consolidating multiple MLOps tools into a single platform and offering a user-friendly way to develop, train, and infer using a serverless solution. These platforms manage the complex tasks of infrastructure and deployment, freeing up developers to concentrate exclusively on improving their models. With an integrated workflow that spans development through training, the loop of machine learning projects can be effectively closed for maximum performance.
How to build a project using DagsHub and Beam
To demonstrate the workflow of using DagsHub with Beam, we will use the palm recognition project. The goal of the project is to develop a robust model that can extract features from palm images and maximize the distance between inter-class while minimizing intra-class distances. We will begin by using a dataset with 370 identities to train a classification model for feature extraction. During the inference phase, we will select N images from each identity for registration and use the remaining images as query images for recognition. For accurate recognition, we will pair the query images with registered IDs using cosine similarity.
The following sections will cover dataset preparation, versioning with DVC, and using code snippets for streaming data and experiment tracking with DDA and MLflow. After the dataset and code are ready, we will use Beam for training, evaluation, and inference with its powerful computing capabilities. Let's get started!
Overview of the Palm Recognition project pipeline
To start the project, we utilized the hand dataset 11kHands as our initial dataset. The goal of the project is to identify a person through the palmar, so we remove the dorsal data and only focus on the palmar hand-side. After filtering out the dorsal hand side, we use the preprocess.py Python script to normalize each hand to the center. The normalization processes contain the following:
- Background Removal
- Hand Keypoint Detection
- Rotate and shift all hands to the same position with the keypoints
To version the normalized images, we initialized the DVC for the repository by the following:
# Add a DagsHub DVC remote
dvc remote add origin s3://dvc
dvc remote modify origin endpointurl <https://dagshub.com/><repo-owner>/<repo-name>.s3

# Setup Credential
dvc remote modify origin --local access_key_id <DagsHub-Token>
dvc remote modify origin --local secret_access_key <DagsHub-Token>
Now, we are able to version the normalized images using DVC:
dvc add <data-directory>
dvc push -r origin
By utilizing the DVC versioning feature, we can avoid the need to synchronize the complete dataset with the remote container host via Beam. Instead, we can make use of Direct Data Access (DDA) functionality provided by DagsHub. DDA allows us to train the model by streaming the dataset directly from the repository. This approach offers a convenient alternative to managing large datasets, simplifying the workflow, and reducing resource usage.
How to set up DDA and MLflow for machine learning model training:
Now, we will shift our focus to the two essential components required for training - DDA and MLflow.
DDA is a new way to stream data during training without downloading data in advance and changing anything in your project structure. MLflow is a tool to track and visualize all the metrics and parameters from your experiments.
To train the model using Direct Data Accessing (DDA), we need to add two lines of code to our training script.
from dagshub.streaming import install_hooks
install_hooks()
To keep track of the parameters and metrics while training, the main.py script uses the MLflow functions:
# Log the training loss for each iteration
mlflow.log_metric(key="train_loss", value=loss.item(), step=iteration)

# Log parameters:
mlflow.log_params({"num_class": train_dataset.class_num})
How to set Up Beam with a local machine for machine learning training?
Once the dataset preparation and training code are complete, the next step is to set up the account for Beam and configure the local machine for training.
Please go to Beam’s website and click the Get Started button to sign up for an account or use GitHub to log in. Next, follow the steps in QuickStart to configure your local machine.
Open the terminal on your local machine and follow the steps :
Install Beam CLI:
curl <https://raw.githubusercontent.com/slai-labs/get-beam/main/get-beam.sh> -sSfL | sh
Register API Key: Go to the dashboard and find the settings in the sidebar. Click API-Keys in the settings and copy the api-key. Enter the command line below and you’ll be prompted to paste in your API keys:
beam configure
Install the beam SDK:
pip install beam-sdk
Next, go to your project directory and create a Python script named app.py that sets up a remote development environment. You can set up the app name with a name argument. The CPU sets up the cores to provide your runtime. If you need GPU to accelerate your deep learning model, set up the GPU and memory. Beam provides two types of GPU, A10G and T4. The Python version and the package dependency can be set through python_version and python_packages. To install the OS-level dependency, you can use command argument. More detail can be found here.
# app.py
app = beam.App(
    name="myapp",
    cpu=8,
    gpu="A10G", # set gpu if needed
    memory="32Gi",
    python_version="python3.9",
    python_packages="requirements.txt", #ex: ["numpy", "pandas", "torch==2.0.0"]
)
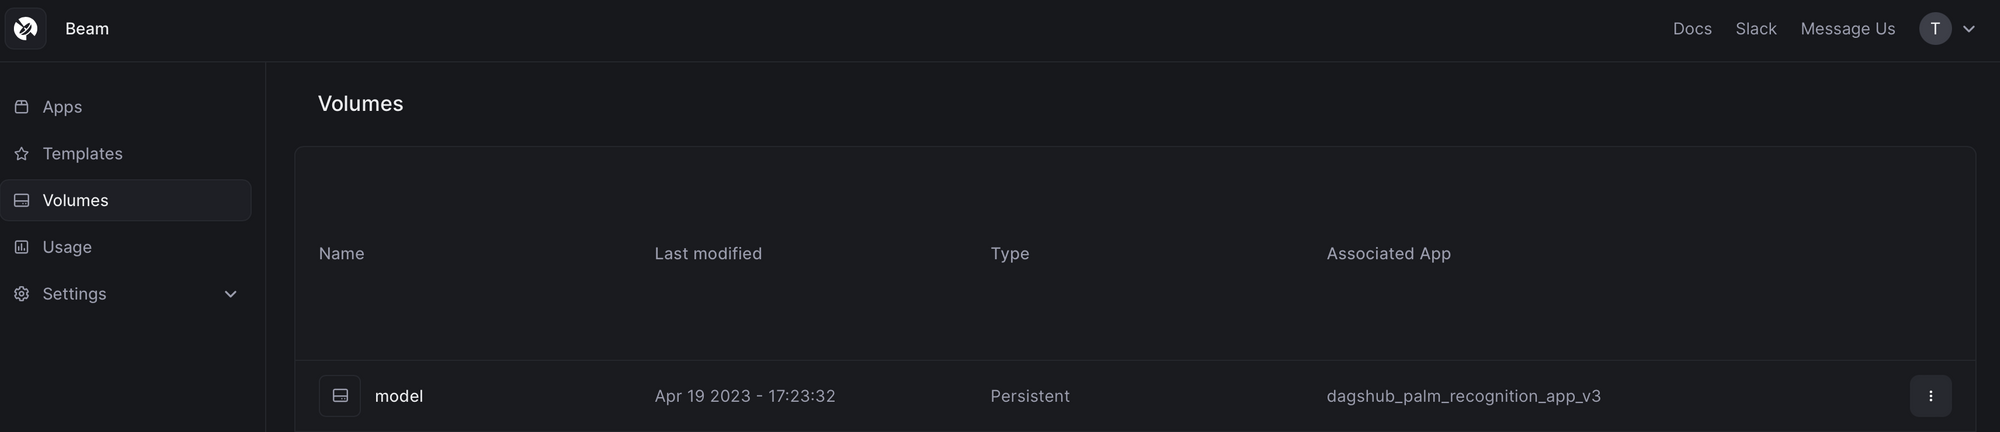
Beam synchronizes the files from the local to the remote container with a size smaller than 1MB. With this limitation, to use the files such as pre-trained model larger than 1MB, we need to create a volume using the python API below in the app.py:
app.Mount.PersistentVolume(path="./model", name="model")
Be noted that the volume is created for the first time when you run the beam start app.py to start the beam app. Now, check if your volume is created from the dashboard:
There are two methods for uploading the pre-trained model - either through the Web UI or by executing the following command:
beam volume upload <mount-volume_name> <pretrained-model-path> -a <app-name>
How to setup MLflow with Beam?
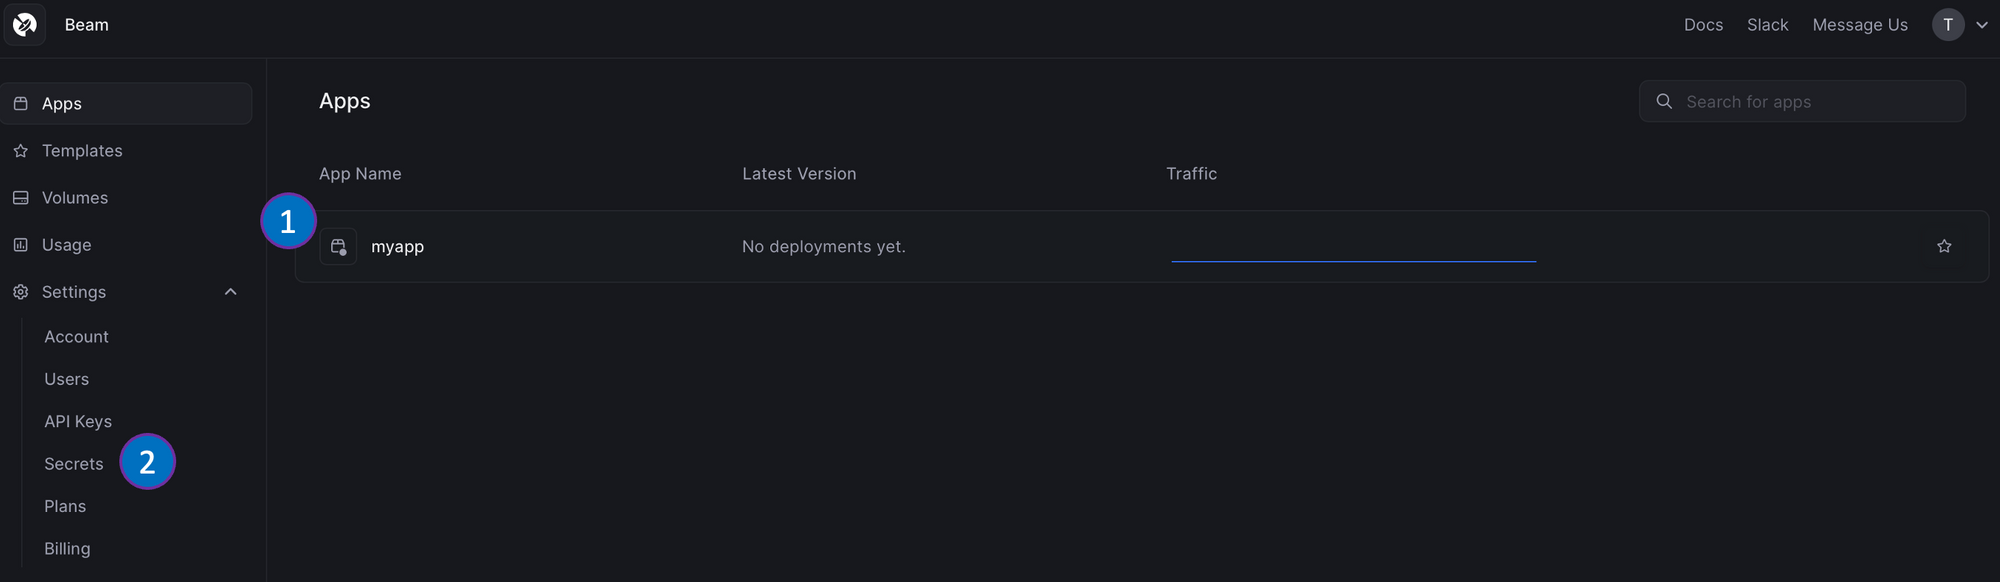
We mentioned in the last section that MLflow is required for experiment tracking during the training process. To connect to the MLflow remote server hosted by DagsHub, we need to configure the environment variables from the dashboard page. We choose the App Name under the Apps dashboard and click Secrets on the sidebar to start creating variables. The required keys are MLFLOW_TRACKING_URI, MLFLOW_TRACKING_USERNAME, MLFLOW_TRACKING_PASSWORD.

After setup the required environment variables, we can use those variables by the following:
import mlflow
mlflow.set_tracking_uri(os.environ["MLFLOW_TRACKING_URI"])
Now, we’re ready to connect the remote container and train the model. Run the command below in your terminal:
beam start app.py
If the local machine is connected to the remote container, you will see a (beam) % in the terminal. This indicates that you can train your model as usual on your local filesystem. If you want to run the command line in your remote container, add remote in front of your command line otherwise it is running on your local machine:
# list the files in the remote folder
remote ls -la
# list the files in the local folder
ls -la
After getting through the data preparation, code setup for DDA and MLflow to the beam setup. Now, we're all set to train the model locally using the command below with the power of remote computation! It's incredibly easy and exciting!
python src/main.py
We can always check the loss while training through the MLflow remote server hosted by DagsHub.
In the experiment setting, we set a 3 fold cross-validation training. We can compare the validation accuracy during the training process also using the web UI provided by DagsHub.
How to use DDA with Beam?
To use the DDA during training, the install_hook should be called in a git versioned repository (The folder contains .git). The problem happens when the .git folder is larger than 1MB. When connected to the remote container with beam start app.py, the .git folder won’t be synchronized, and the DDA will trigger the error. To fix this, we need to manually add the remote repository with the command below:
# manually add the git repository
remote git init
remote git remote add origin <https://dagshub.com/><repouser>/<repo-name>.git
remote git fetch
git checkout main
# start training
python ./src/<train_script>.py
By integrating DagsHub and Beam, machine learning projects become more manageable and efficient. DagsHub's unified platform hosts all project components, streamlining project management. Beam's serverless solution handles remote service infrastructure, eliminating the need for complicated settings and platforms like Colab.
Conclusion
With DagsHub and Beam, users can easily develop, train, and deploy machine learning models. The blog post provides step-by-step instructions on using DagsHub to iterate model development, collaborate with team members, and utilize Beam's powerful computing capabilities without worrying about complex remote server configurations.